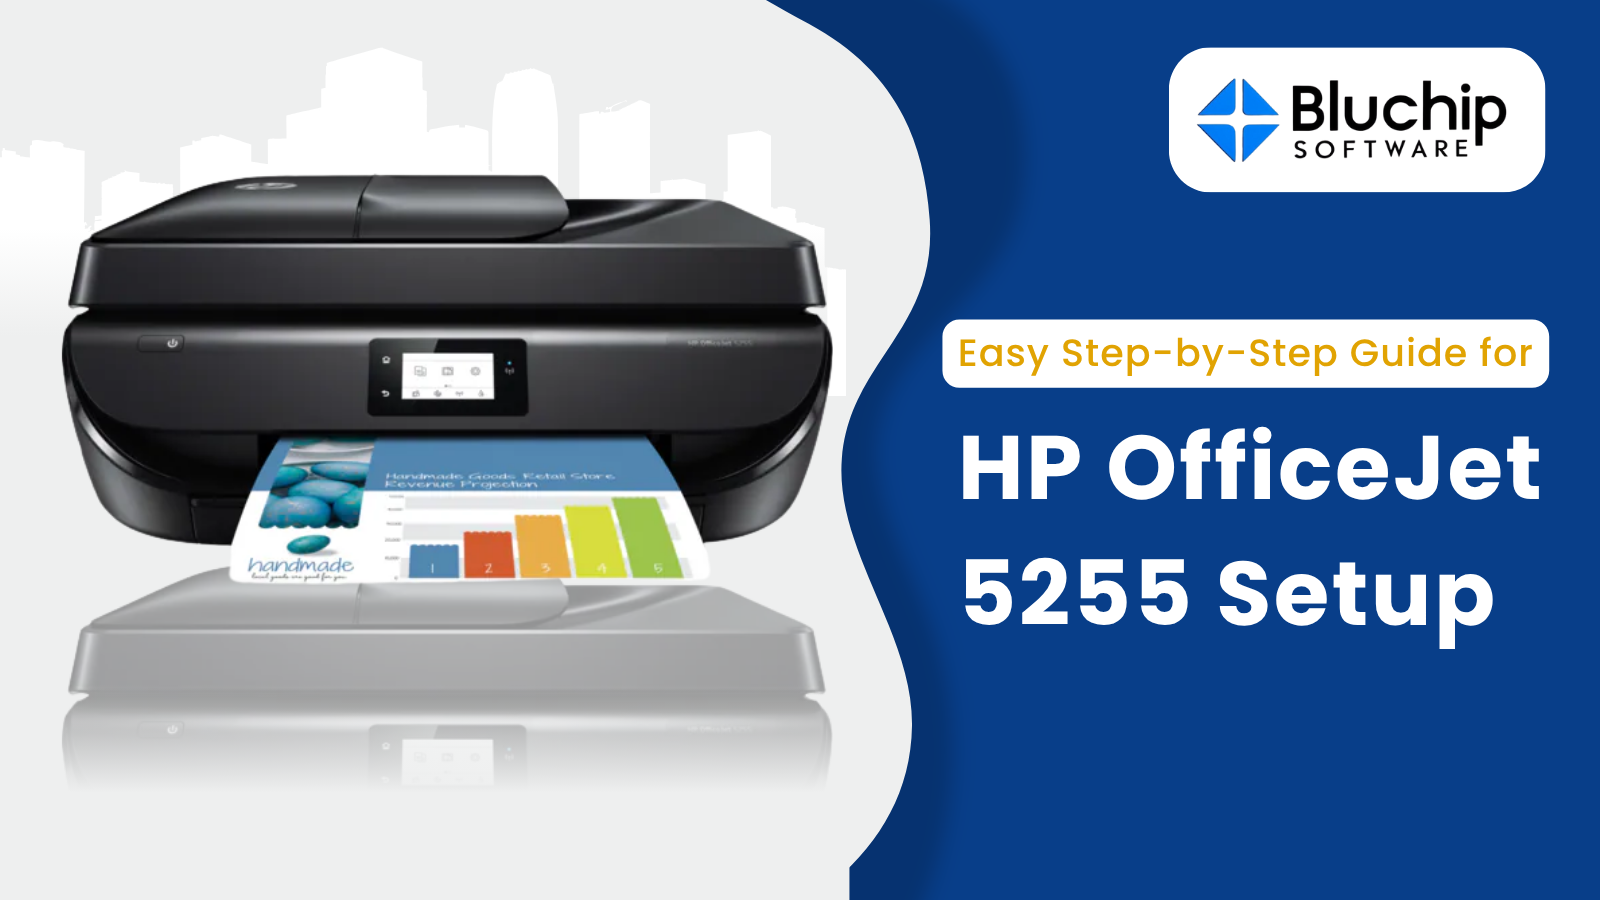
Easy Step-by-Step Guide for HP OfficeJet 5255 Setup
Perfect printing, scanning, copying, and faxing capabilities depend on your HP OfficeJet 5255 All-in-One Printer's easy configuration. Following these rules will help you start hp officejet 5255 connect to wifi quickly, whether your connection is USB or Wi-Fi.
Unboxing and Initial Preparation
Start by gently opening your HP OfficeJet 5255 printer. Remove all protective elements, including packing inserts and tapes, from both the outside and inside of the device. If you use a wireless configuration, ensure the printer is on a level, steady surface close to a power outlet and within range of your Wi-Fi router.
Plug the power cord into the outlet from the printer's rear. Press the power button to start the printer. The printer's control panel will guide you through the first hp officejet 5255 setup, including language, region, and date/time settings.
Installing Ink Cartridges and Loading Paper
Usually found at the front of the printer, open the ink cartridge access door and load paper. Watch for the carriage to centre itself. Sort the given ink cartridges, cut off the protective tape, and slide them into their respective slots—tri-colour on the left and black on the right. Once the cartridges are tightly in place, close the access door.
Then, extract the paper input tray and change the paper width guides. Stow a stack of plain white paper on the tray such that it fits tightly between the guides. Flip the tray back into the printer.
Connecting the Printer to Your Computer
✅ For USB Connection:
If you prefer a wire connection, run a USB cable from the printer to your computer. Your computer ought to install the required drivers and automatically identify the printer. If asked, finish the installation according to on-screen directions.
✅ For Wireless Connection:
Navigate to the hp officejet 5255 wifi setup Wizard via the printer's control panel, then network it to your Wi-Fi. When asked, select your network your network from the list of available networks and enter your Wi-Fi password. The printer will try to network-connect and show a confirmation message when successful.
Installing Printer Software
Download and install the latest printer software and drivers from the official HP website to guarantee complete functionality. See HP OfficeJet 5255 Drivers, choose your operating system, and obtain the relevant software package. To finish the installation, run the installer and follow the on-screen directions.
As an alternative, the HP Smart app offers further capabilities, including mobile printing and scanning, and helps streamline hp officejet 5255 wireless setup. Get the app from either the HP Smart App page or the app store on your device.
Printing a Test Page
After the hp officejet 5255 scanner setup, Printing a test page helps you confirm that the printer is operating as it should. Starting a test print using the HP Smart app or the printer's control panel will guarantee the installation of the ink cartridges and paper as well as the appropriate connection of the printer.
Troubleshooting Tips
Should you run across any problems during setup, give the following troubleshooting advice some thought:
- Wireless Connection Issues: Ensure the printer is within the range of your Wi-Fi router and that the network is operating as it should be. Restarting the printer and router often helps with connectivity issues.
- Driver Installation Problems: Check to be sure you have downloaded the relevant operating system drivers. Before trying a new install, uninstall any past printer programs.
- Paper Jams: Look for obstacles in the paper path to guarantee proper tray loading.
You can discuss troubleshooting with us more thoroughly.
Conclusion
Setting up your HP OfficeJet 5255 All-in-One Printer is a doable task that, done right, guarantees dependable performance for all your printing needs. Following the above-described procedures will help you build a strong foundation for productive and efficient use of your printer.

