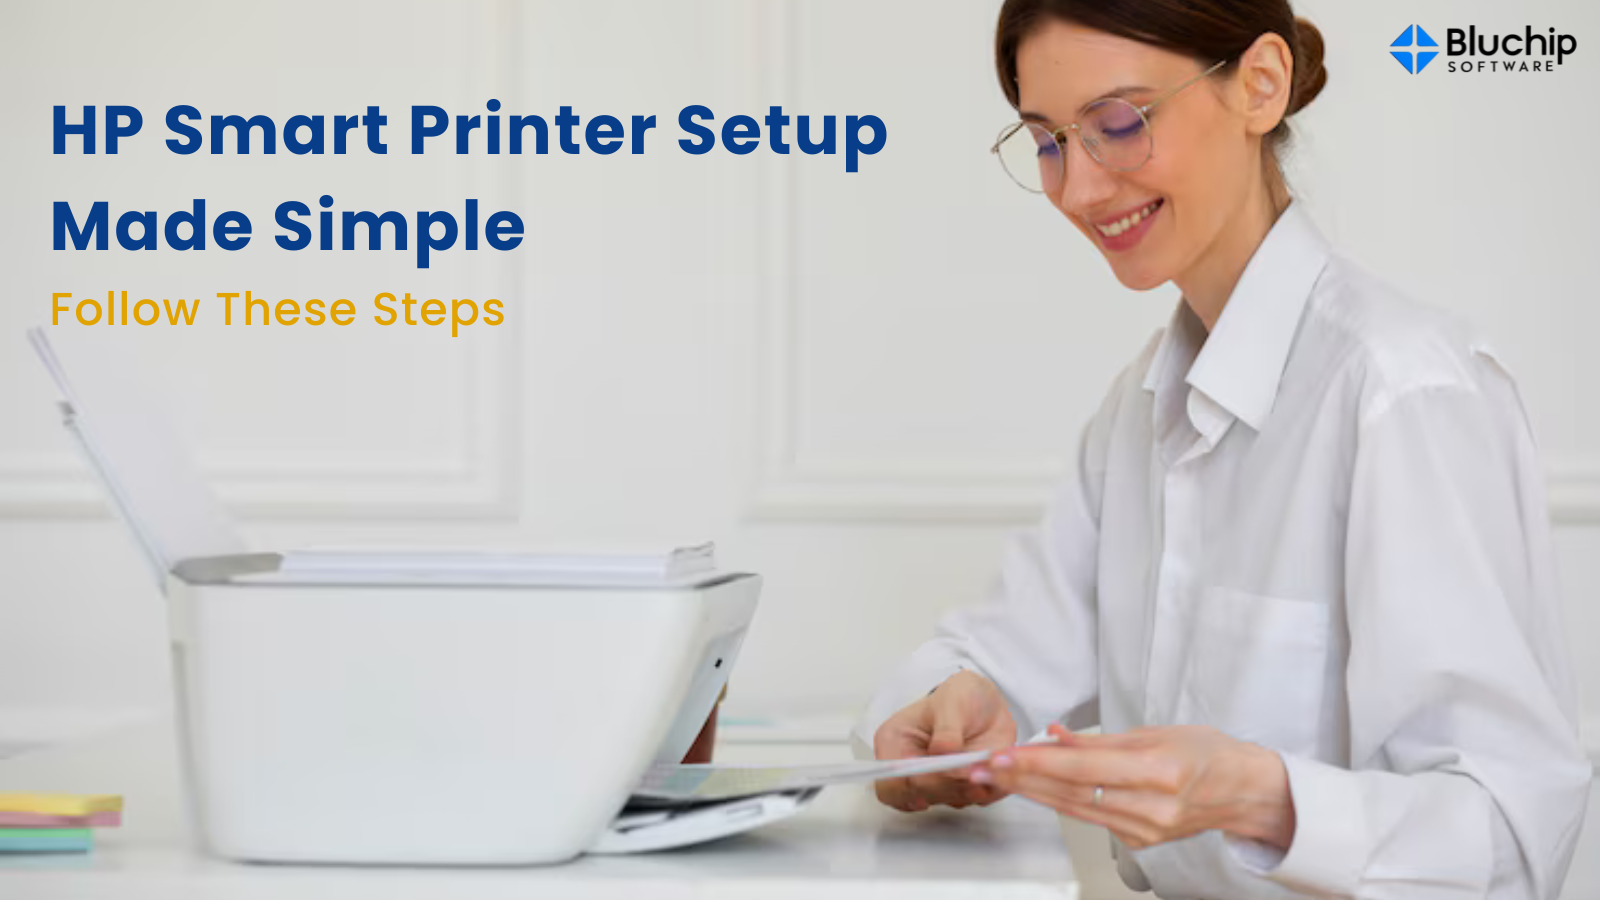
HP Smart Printer Setup Made Simple – Follow These Steps
Your HP Smart printer is set up in a simple manner that guarantees easy starting of printing, scanning, and copying. These guidelines will help you in hp smart printer setup and quickly get your printer ready for usage.
Unbox and Prepare Your Printer
Start by gently opening your HP Smart printer. Remove all packing materials, including tapes and protective films, from the printer's inside and outside. To guarantee a strong wireless connection throughout setup, place the printer on a level, solid surface close to a power outlet and your Wi-Fi network.
Power On and Load Paper
To turn on the printer, first connect it to a power source and then push the power button. Watch for the printer to start. Open the input tray and fill it with simple white paper. To guarantee smooth feeding while printing, change the paper guides to suit the paper size.
Install Ink Cartridges
Open the ink cartridge access door. Sort the supplied ink cartridges and cut off any protective tapes. Press down until each cartridge clicks into place, then place it in the matching slot. After closing the access door, let the printer identify the cartridges—this could take several seconds.
Download and Install the HP Smart App
Download the HP Smart app on your computer or mobile device to simplify the setup procedure. Go to HP's official website and follow the prompts to install the software appropriate for your running system. The HP Smart app offers access to many functions, driver installation, and printer setup aids.
Connect Your Printer to Wi-Fi
Ensure your computer or cell phone is linked to the Wi-Fi network you plan to use with the printer. Launch the HP Smart app, and then use the on-screen directions to add another printer. The app will hunt for accessible printers; choose one from the list. Enter your Wi-Fi password to connect hp smart printer to wifi, which should prompt. This could take many minutes.
Complete Printer Setup
Once you have Wi-Fi connected, the HP Smart app will walk you through the remaining setup processes, which can include registering your printer with HP for warranty and support.
- Seeking and implementing firmware changes to guarantee best performance.
- Orienting the printheads for precise output.
Finish these stages using the suggestions.
Print a test page
Once hp smart printer wifi setup is finished, print a test page to confirm the printer is running as it should. To print a test page via the HP Smart app, first pick your printer. This will verify the printer's correct operating and connection state.
✅ Enable Additional Features
The HP Smart app provides several tools meant to improve your printing experience:
- Mobile Printing: Directly print photographs and documents from your tablet or smartphone.
- Scanning: Digitalize papers using the scanner on your device or the printer.
- Cloud Integration: Connect to Google Drive or Dropbox for simple file access.
Discover these capabilities in the app to maximize your HP Smart printer.
✅ Secure Your Printer
Check that your Wi-Fi network is locked with a strong password to guard your printer and network.
- Using the HP Smart app, routinely update the firmware on your printer.
- Steer clear of tying the printer to unprotected or public networks.
These steps support the integrity and security of your printing surroundings.
✅ Troubleshooting Tips
Should you run across problems during configuration:
- Printer Not Found: Verify the printer's power is on and within the Wi-Fi network range.
- Wi-Fi Connection Fails: Review your Wi-Fi credentials and, if needed, restart your router.
- HP Smart App Issues: Make sure the software is the newest by uninstalling and reinstalling it.
You can chat with us for thorough instructions and support tools for additional hp smart printer help.
Conclusion
These guidelines will help you effectively set up hp smart printer and maximise its whole feature range. The HP Smart app manages your printing chores using a user-friendly interface, streamlining the process.

